Written By: Joe Oehlhof
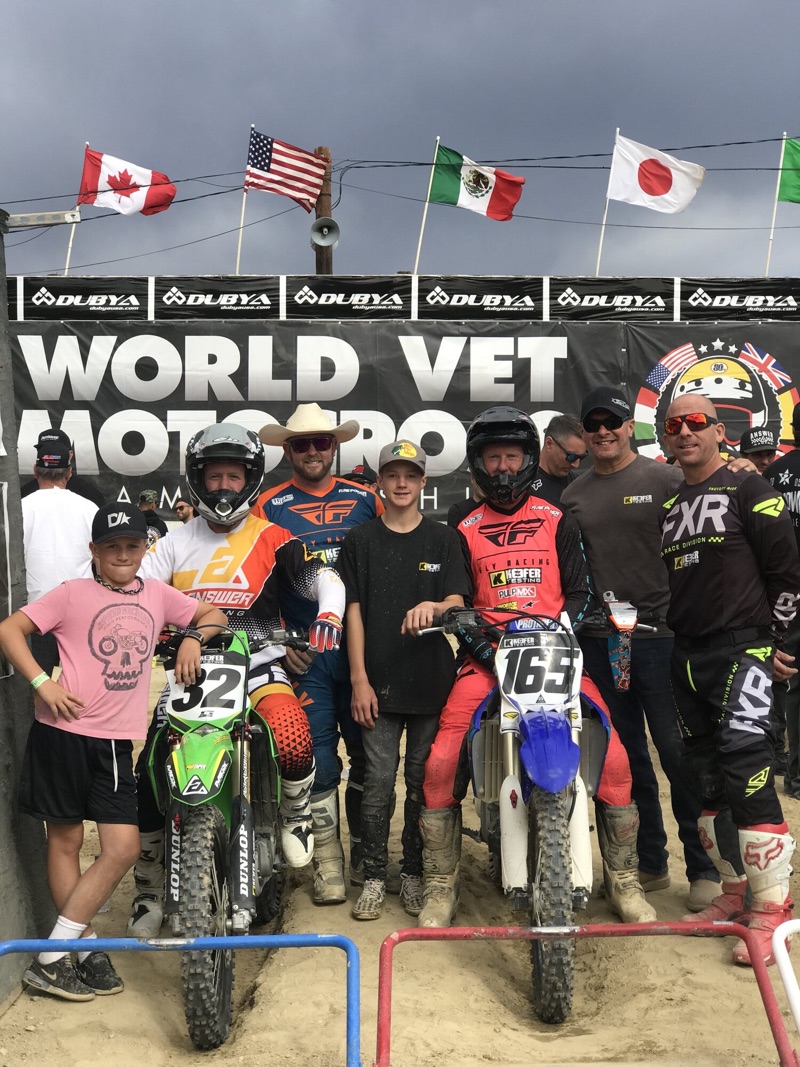
For part two of this build I got a bit more detail oriented and involved some high-end parts, which provided some big gains, but before we get into that, I’ll give a quick review of how the Dubya Vet World Championship went for me. I ended up 5th overall, not too bad for a guy who only gets to ride once a week, I guess. I can tell you I’m not happy with it and I feel like I should have been 3rd overall. Not to take anything away from the guys who finished ahead of me because they rode great. I just felt like I left some on the table and didn’t ride to my full potential. I won’t bore you with excuses but I will say it has motivated me to race a bit more and I’ve already started my prep for next years Vet World race, so I guess that is a good thing. I gotta thank Pro Circuit for taking care of my bike all weekend and making me feel like a part of the team. Couldn’t have pulled this event off without the help of Mitch, Bones, Dan, Camilla, Luke, Mike and especially Josh and Kyle for wrenching for me on Friday and Saturday. I also want to thank the rest of the companies involved that helped me get a damn good bike together in a short amount of time. Huge thanks to Pro Circuit, Pro Taper, FCP, Hinson, EKS Brand, Answer, Dunlop, X-trig, MGX unlimited, Amsoil, Matrix Concepts, and last but certainly not least is Kris at Keefer Tested. None of this would have happened without him nudging me and getting me a bike, I’m coming for you next year, which may be impossible because you’re riding the best I’ve ever seen you ride but, it’s a goal to shoot for. We’re a long way off from that but stay tuned.
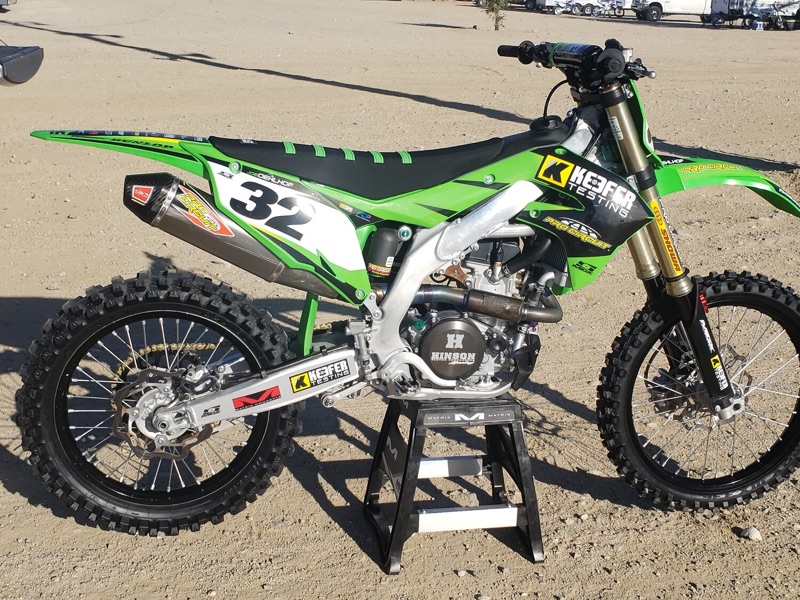
After phase 1 was wrapped up the next area we concentrated on was getting a bit more power, but more importantly move the delivery around a little to make it even more usable and ultimately get the power to the ground. We achieved this by having Pro Circuit remap the stock ECU, installed a full Hinson clutch set up, and slapped on Pro Taper chain and sprockets for the final drive. First up, the ECU; with the smooth, strong delivery of the stock power coupled with the PC Ti-6 exhaust we had a very good manageable motor. I was looking for more of a smooth torque down low and better “recovery” and the PC re-mapped ECU did just that. It gave me a little less jumpy feel and wider/broader second gear that allows me to roll on the throttle much sooner while keeping the rear tire connected to the throttle. Additionally, it increased mid to top end pull while shifting through each gear as well as removed any lull or dead spot if I shifted too early. This mod added that last piece of the puzzle that allows me to ride the bike in an aggressive manor with more than enough power, but is user friendly and doesn’t wear me out.
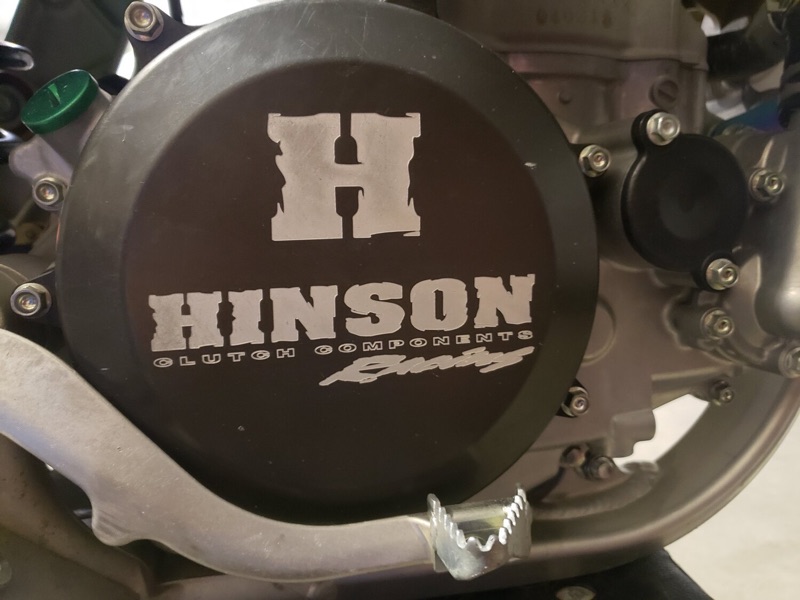
To assist in transferring the added power to the rear wheel we installed a full Hinson clutch (outer basket, inner basket, pressure plate, stiffer springs and clutch cover). If you make power gains, but can’t transfer it to the rear wheel, without slipping the clutch, in a useable manner, it’s then wasted. The stock clutch set up is decent, but you can’t beat the quality and durability of a Hinson system especially when you’re hard on the clutch like me! Besides durability and the peace of mind I get with this system it also provides a more positive clutch feel and precise engagement, less drag than the stock, and an accurate feel at the lever. The stock clutch feels a bit spongy and tends to drag under load which doesn’t provide that precise ‘bite’ like the Hinson does.
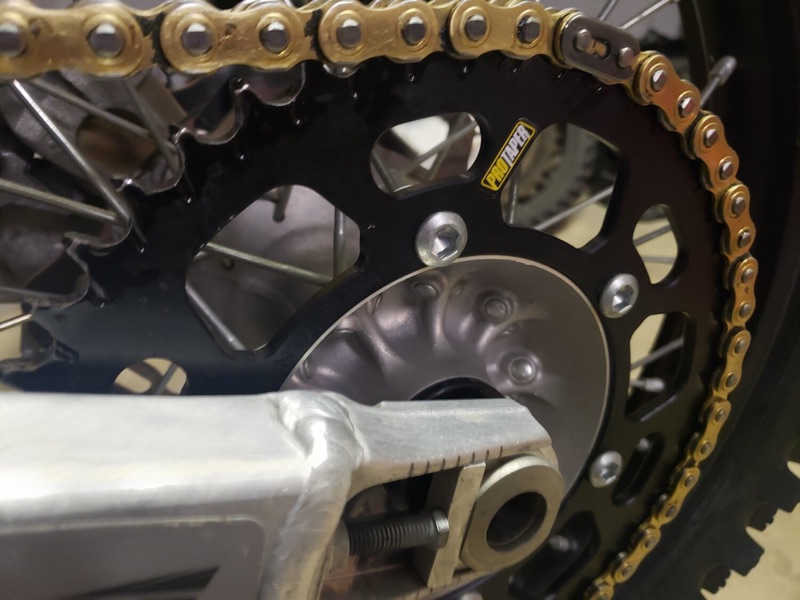
To finish the transfer of power, Pro Taper also hooked us up with chain and sprockets. I definitely try to get my money’s worth out of all the parts I use and Pro Taper durability and performance are top of the line. These parts not only look great, but outlast all others that I’ve tried.
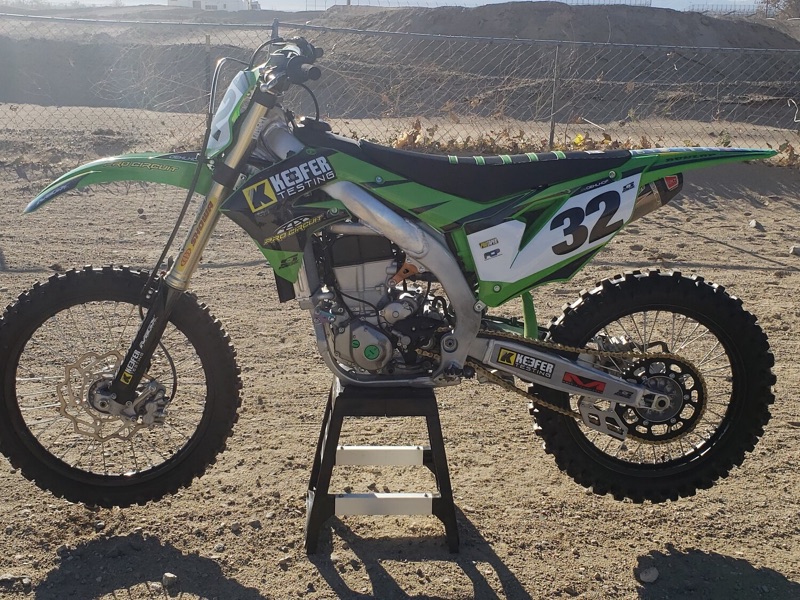
Now we have the power and got the bike hooking up we needed to focus on handling and suspension. Pro Circuit also took care of the suspension and hooked me up with their newest offering of A-kit internals that slide right into the stock outer tubes. In effort to get you Kawasaki guys hooked up with close to works suspension as you can get without purchasing a full set of A-kit, you can now buy the internal cartridge and drop it directly into your stock forks. This is the same 27mm internal cartridge that the Monster Energy/Pro Circuit Kawasaki team uses and even has the same Kashima coatings. If you aren’t excited to have this available to you, check your pulse!! The real question is, will the average guy who rides once a week be able to tell a difference and the answer is absolutely! The stock forks are a little too soft and ride too far down in the stroke. The action of the stock forks are good when not under a load so getting the forks to stay “up” in the stroke was the first area we concentrated on. With a slightly stiffer spring rate and the A-kit cartridge we had a setting that gave me a lot of confidence to charge into corners, especially down the big hills of GH. On top of that the forks absorbed hard landings such as slap downs, the occasional OJ by my happy throttle hand, and they also stayed “up” in the stroke when under any significant load. This enabled the front end to have great low and high-speed bump absorption, better traction under heavy braking and on lean angle it felt like the front tire had a bigger contact patch. This was very confidence inspiring when you can achieve that at Glen Helen in the afternoon.
Next came the shock, but I really liked the stock shock, so I was nervous to get too far away from my stock setting that I liked so much. PC set up the shock with a heavier spring and kept the valving fairly close to stock, but addressed the areas I had complaints with. On track, the Being comfortable right away is important because you have to be able to “send it” the first couple laps of a race to have any shot at performing well. The shock was able to absorb that gnarly acceleration chop out of corners and on those square edge uphills, never had a harsh bottoming feel, and it absorbed braking bumps with zero crazy kicking or side to side hop. It also felt slightly more planted entering/exiting corners and felt like the rear wheel was digging down in the dirt as opposed to skating on top. Overall, great performance that has all the potential to get even better with some more tuning and will give the Kawasaki that track toughness that Keefer talks about when riding multiple different styles of tracks. If interested in the 27mm drop in A-kit cartridges contact PC at www.procircuit.com or call 951-738-8050 for pricing and availability.
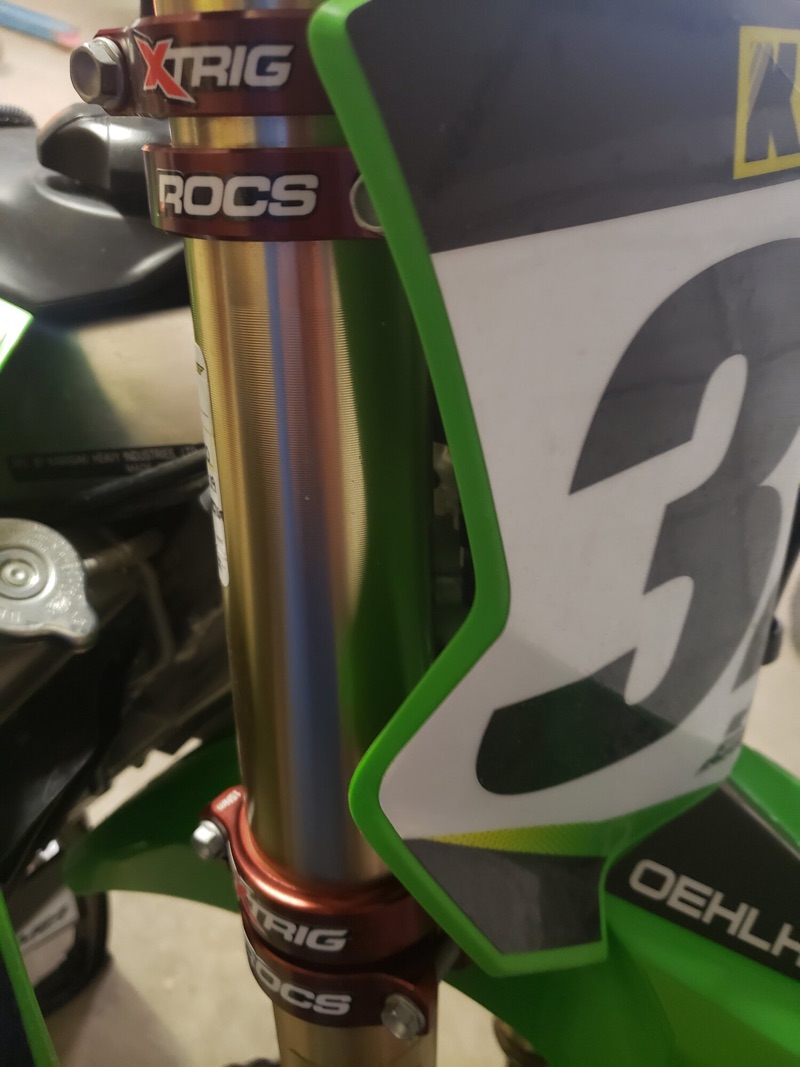
One last item we were fortunate enough to get our hands on were the XTRIG triple clamps. Bones was able to set this up with Rick Green from Technical Touch, who was gracious enough to provide these on a days’ notice, and I’m really pumped he did. I gotta admit I was skeptical at first because back in my racing days I only used aftermarket clamps to firm up the front end as well as to get increased rigidity for the rigors of SX. This wasn’t something I was looking for knowing how good my front end performed and how gnarly Glen Helen gets. Sooooooo after Bones yelled at me for thinking something other than what he recommended, I put them on and again he was right. Son Of A …….! The clamps were better in absorbing some of the transferred energy of sharp square edge bumps, hardpacked braking bumps, and gave the front end an even more planted feel. The PHDS cushions that are integrated into the bar mounts, along with the way the X-Trig’s clamp to the forks, allow better movement, no binding, and less stiction that provided me a comfort level that I was pleasantly surprised with. Add the fact that they look cool as shit, it was a mod I hadn’t planned on, but ended up getting results beyond what I had imagined. It also gave Keefer something to talk crap on me about and tell me I was taking things way too serious because I initially said I was just going to race for fun. But hey once a racer, always a racer and if someone is offering up a piece to give a bit more performance, I was taking it cause I had to make up for all my weaknesses!
So that was my month leading up to the race! It was super busy and served as a reminder the amount of work it takes to build a competitive bike. I’m pumped on how it turned out, but my only wish was to have a little more time on it before the race, because I literally got all this done the day before the race. That’s the life of a vet guy though right? Work all week, in the garage the night before, and send it on Sunday! Next Year I’ll try to prepare a couple months out and have it finished well before the race. Thanks for reading and as always if you have any questions contact Kris@keeferinctesting.com.
